Donate Banner snippets are call to action banners that render at the top of the browser site wide.
The user has the option to remove the banner from view by clicking the 'X' at the top right corner of the banner.
If a user selects to remove the banner, it will remain hidden from view for 24 hours.

1. To create a new donate banner, begin by selecting "Donate Banner" on the snippets page.

2. On the "Donate Banners" page, select the "Add Donate Banner" button

3. On the donate banner edit page, you will see the following (required) fields:
- Name - Used to identify the banner in the CMS
- Title - The heading of the donate banner. We recommend a max character count of 30.
- Subtitle - The subheading that renders below the title. For best results we recommend a max character count of 60.
- Cta Button Text - This field updates the text inside the purple CTA button.
- Cta link - This field updates the URL that the button will link to. This can either link to a full URL, or, a relative URL (ex: ?form=donate).
- Background Image - The image that will appear on the donate banner. For best results we recommend a PNG image with transparent background.
4. Once all fields have been updated, click the save button at the bottom of the page. The donate banner is now ready for use!

1. From the CMS navigation bar, select "Settings" > "Donate Banner"

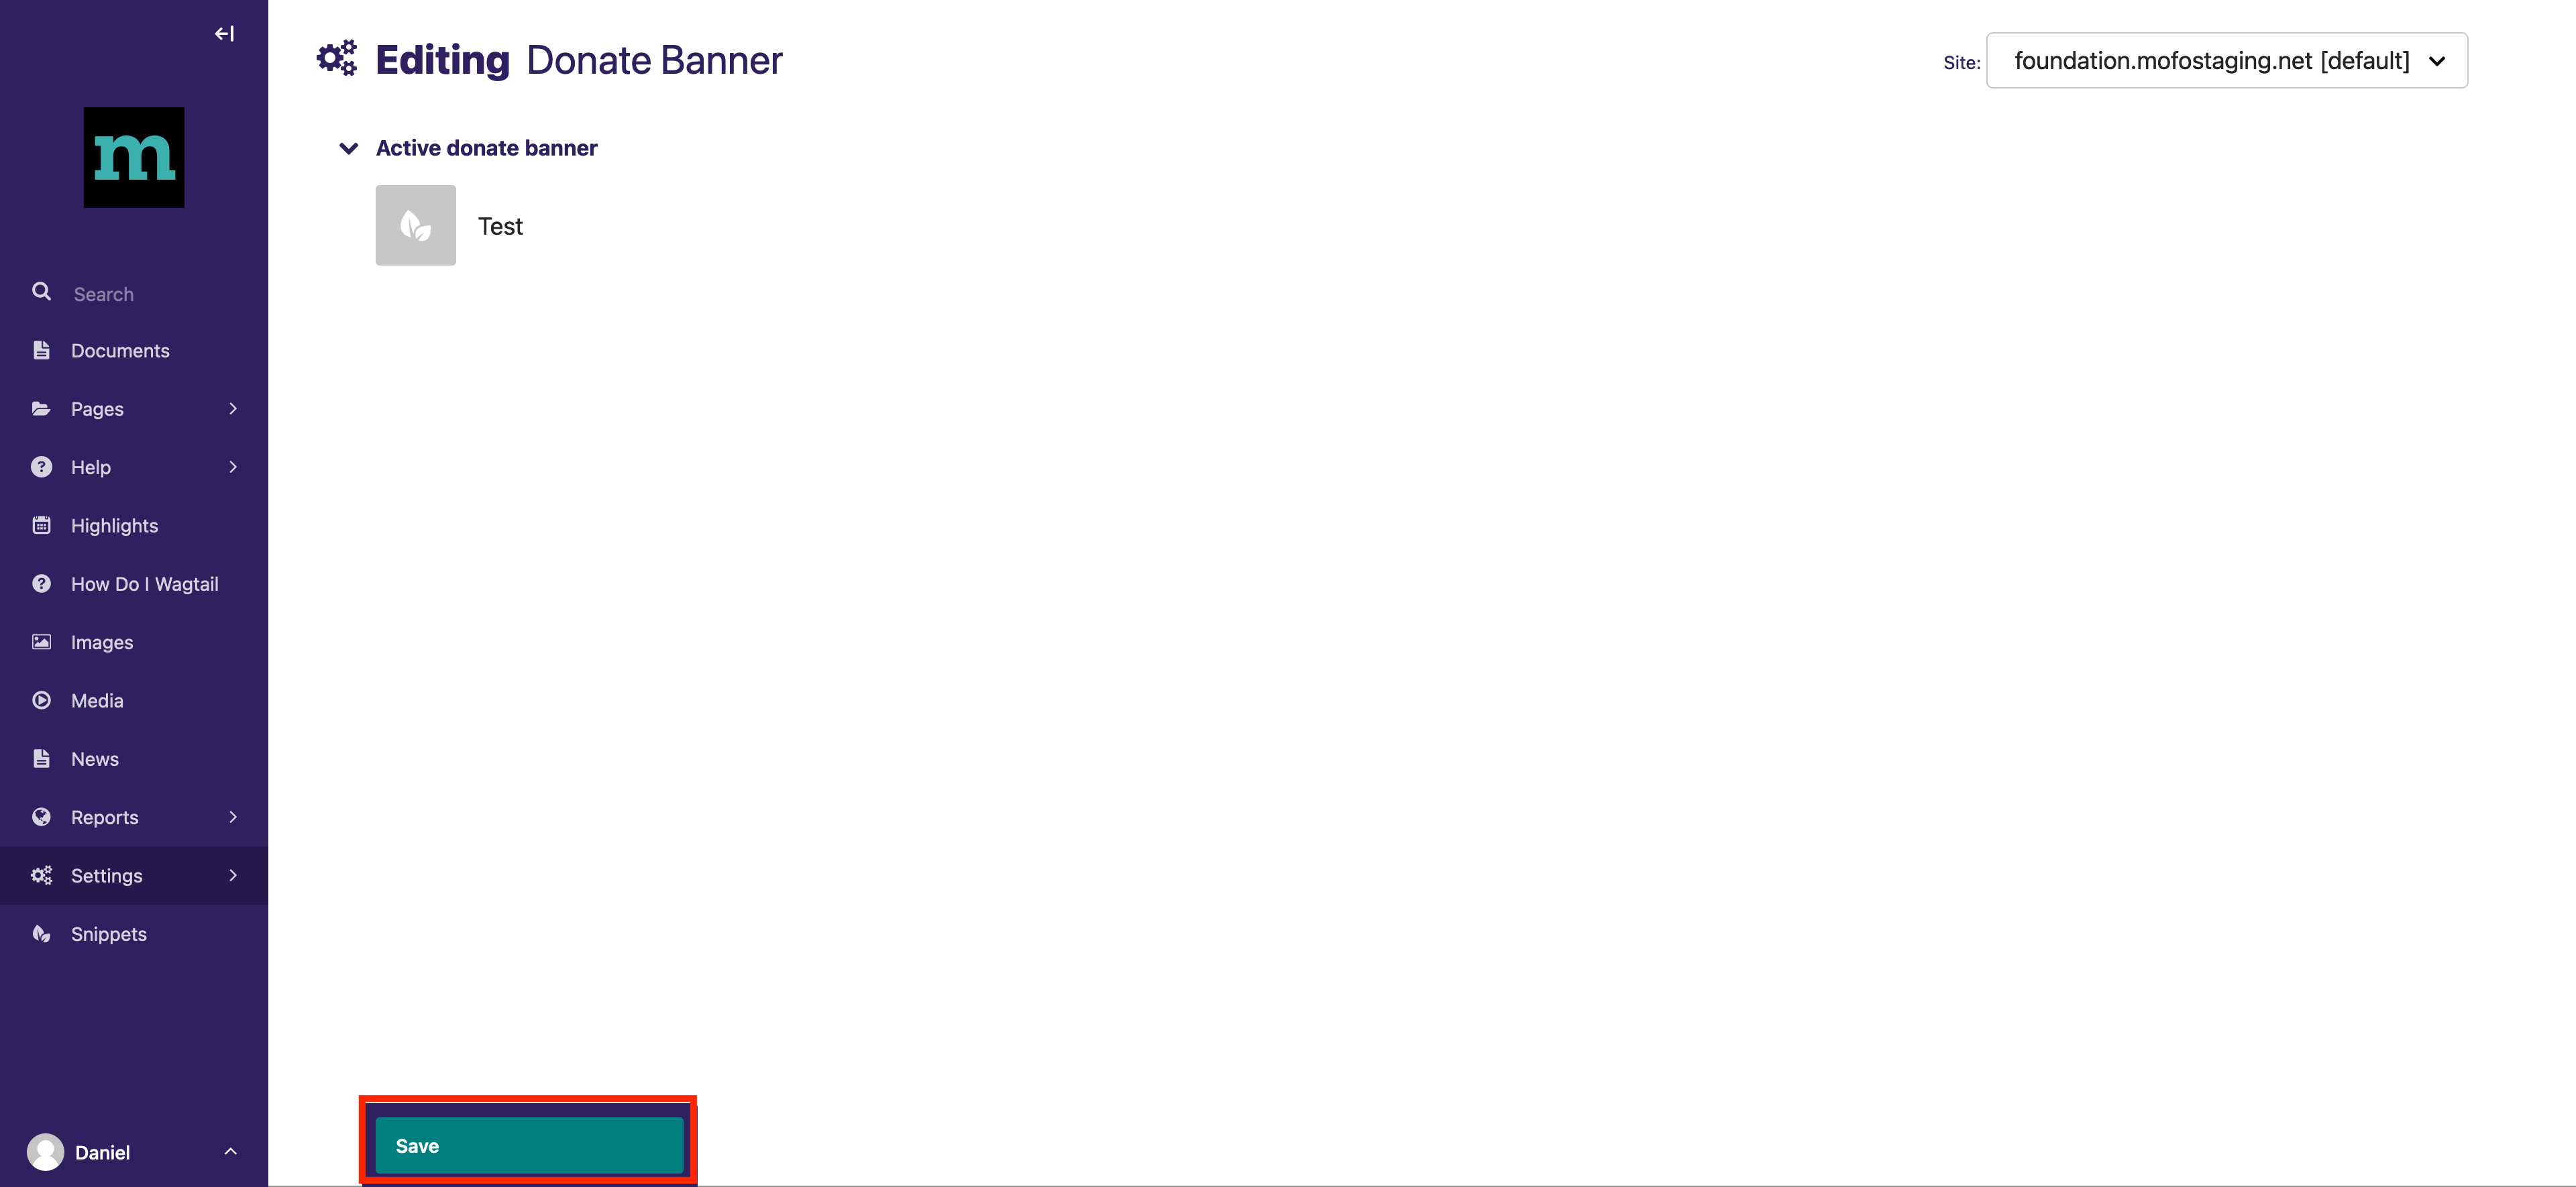
2. Click the "Choose" button underneath "Active Donate Banner". Then select your newly created Banner or an existing banner from the list that appears.

3. Once you have selected the correct Donate Banner, click the green "Save" button at the bottom of the page. The Donate Banner will now be active on the site!

1. In order to deactivate a Donate Banner, hover over the active banner's name and select "Clear Choice" > "Save".