Last Updated: Dec 21, 2023
Inline links
When adding an inline link, highlight the text you want linked and press the link button. You’ll have three options to choose from:
1) Using the “Internal link” feature
Use this to link to a page inside our CMS. Search for the English version of the page you want to link to and Wagtail will automatically redirect users to the right version of this page for each language we support. Use this feature whenever possible to help avoid broken links since this allows Wagtail to automatically update the link if the page were to ever be moved or if the URL changed.

2) Using the “External link” feature
Use this to link to websites outside of our CMS. It’s acceptable to use an external link to link to an internal page as long as the locale code (e.g. /en) is removed from the URL. This will make sure that the link will work for all languages, even if your page is not translated because the content might be translated at some point, and this will force a specific language on to users for the rest of their session on our site.

3) Using the “Anchor link” feature
We automatically turn H2 and H3 headings into linkable anchors. Use this to allow readers to “jump” to another portion of the same page.
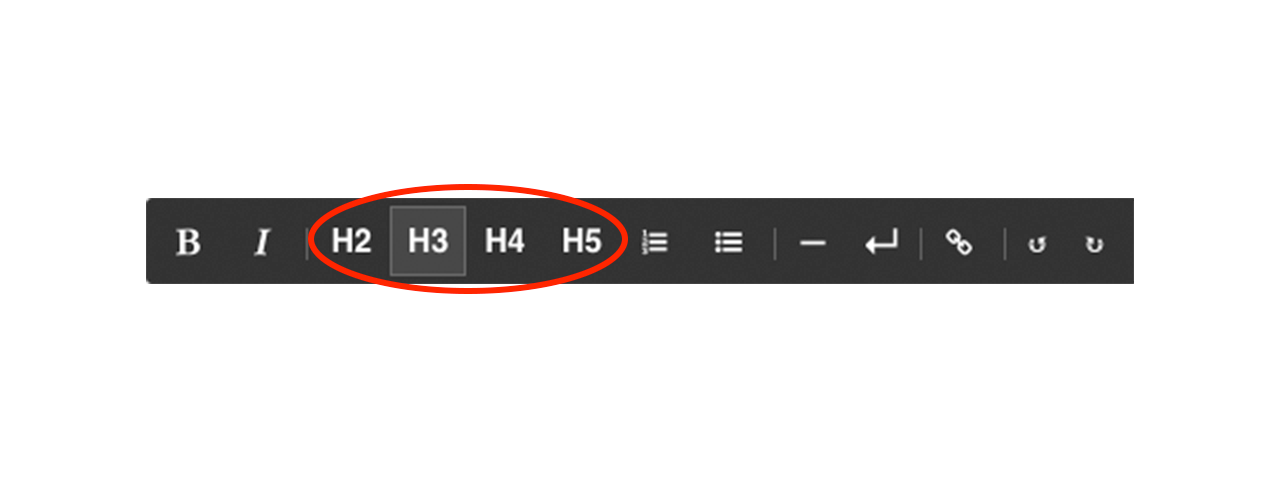
When using the paragraph editing tool, make sure to use the H2 and H3 buttons in the markup bar to ensure headings are marked up correctly. Doing so will let the CMS auto-generate anchors for these headings.
As an important note, make sure not to mark up the heading text outside of "setting the heading", as things like bold or italics or making the heading itself a link will interfere with generating the heading anchor targets (additionally, heading styling from our style guide assumes no additional markup is used, so that's a good rule to follow in general).
In order to find out what the anchor is, you can either preview the page or you can publish it and then view the live version:
- With the page open in the browser, right-click on the heading you want the anchor for,
- Select "Inspect element" from the context menu and your browser should open the Developer Tools with a view of the current document, focused on the heading you inspected:

- You will see that the heading has a little drop down icon, which you can click to reveal the anchor element (<a>) for this heading. The anchor element should have a class called "fragment-id", as well as an "id" attribute: we need to know the value for that "id" attribute.

- The text in this id attribute is what we can use to directly link to the anchored heading on the page. If the id attribute reads "purchasing-adult-and-youth-tickets", for example, then the associated direct link to that heading consists of the page URL plus "#purchasing-adult-and-youth-tickets" added to the end of that URL.
Adding the link to the text
- To make text elsewhere on the page, or on a different page, link to a header, you can use the "link" button in the rich text editor to turn any stretch of text into a link. After highlighting some text and pressing the link button:

- Pick "Anchor link" in the link dialog and paste the anchor id into the “#” field. Click “Insert Anchor” to save.


All done!
Save draft or publish and your anchor links should be set up. Remember to test your links to make sure they're jumping to the sections you want them to jump to.